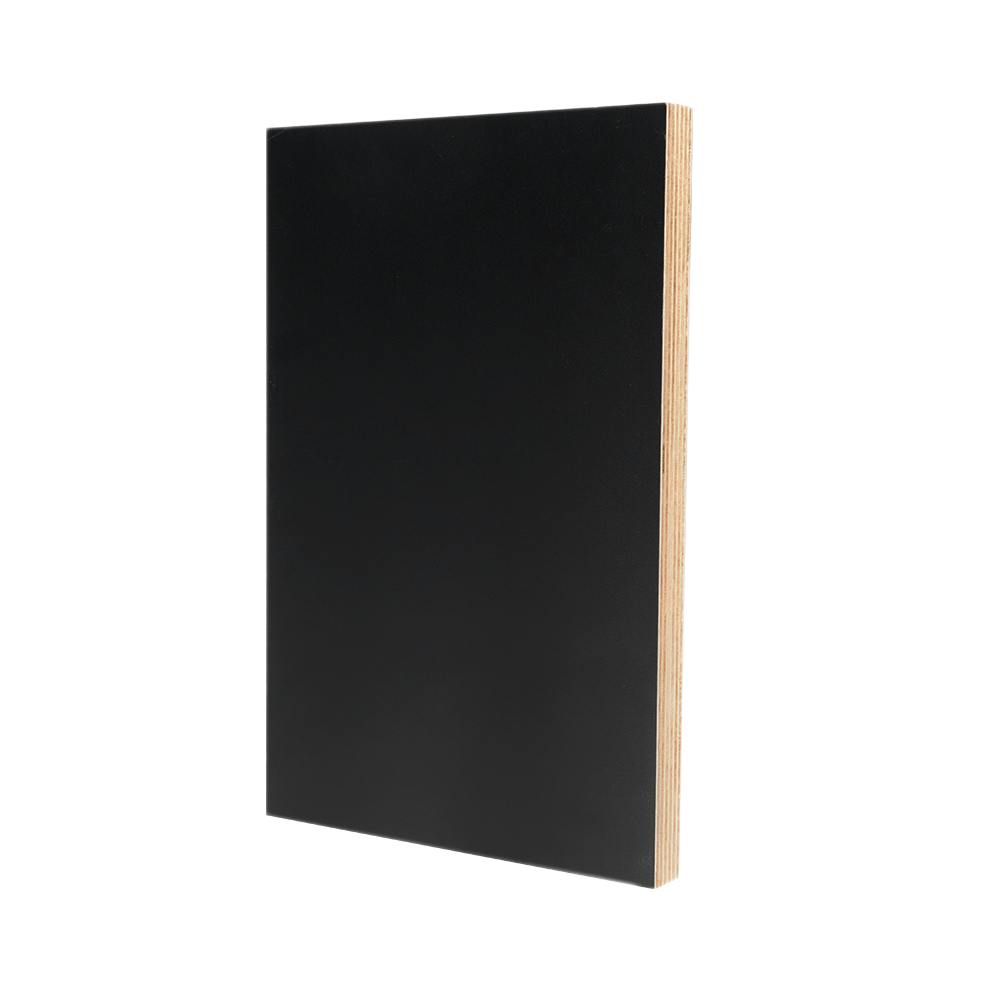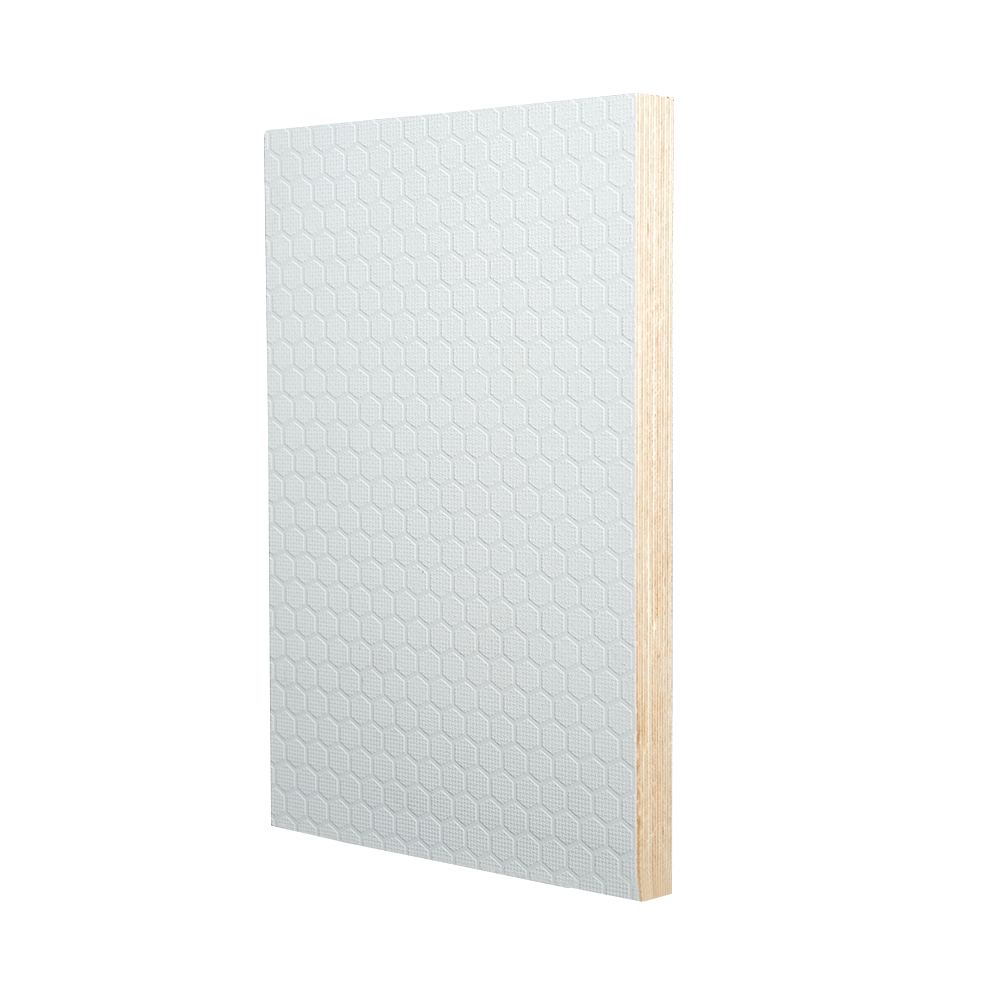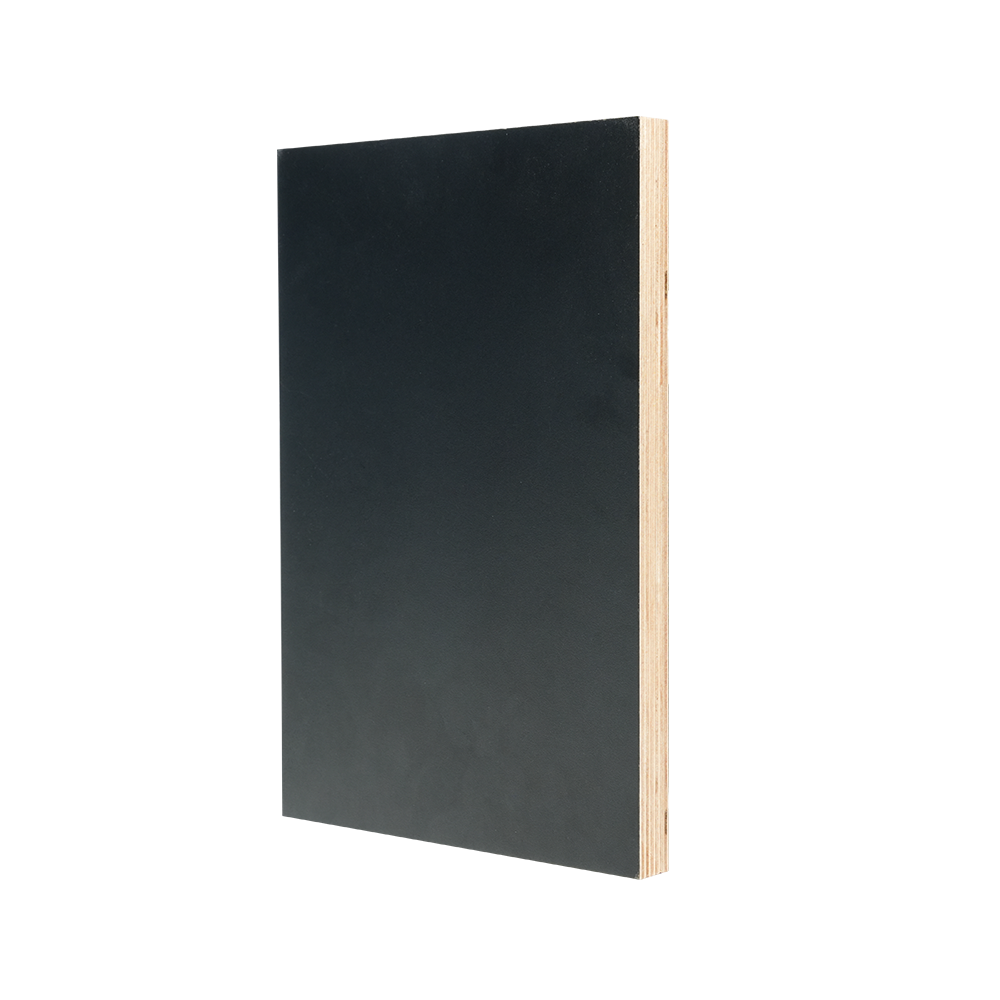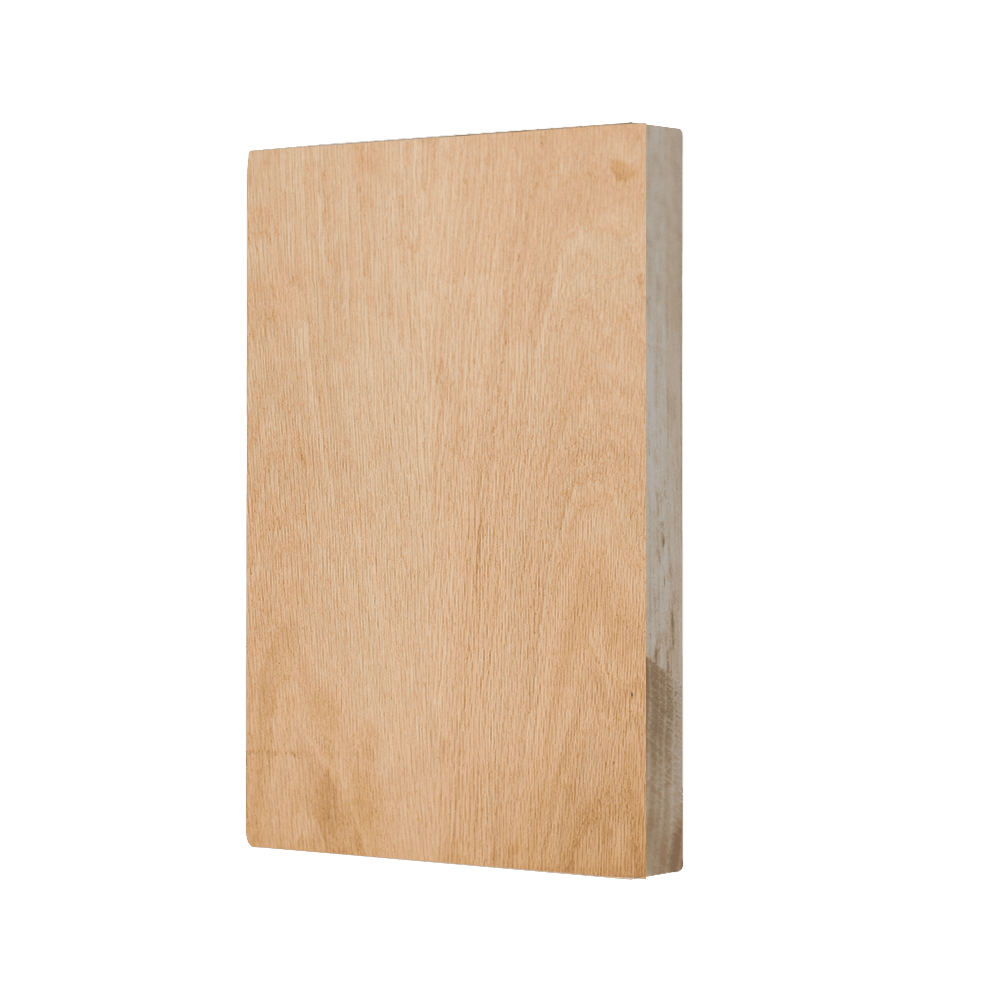

A client walks into the workshop with a photo of a white oak dining table. The budget in their quote says birch. The delivery date says two weeks. And the finish they point at is that quiet, straw-toned, lightly brushed surface that white oak has become known for, not the busy grain of red oak, and certainly not the printed look of melamine film. So the question lands on the bench: can you make birch look like white oak?
The honest answer is yes, with important limits. Professional woodworkers and cabinet shops have been answering this question for years because the price gap between oak and birch keeps widening while the visual standard customers expect keeps getting sharper. Baltic and Russian birch plywood, with their dense cross-banded cores and clean face veneers, accept a finish predictably when the surface is prepared properly. In many projects, a birch panel finished with the right dye-and-pigment sequence can sit next to white oak furniture and pass a close inspection at normal room distance.
This article is a practical sorting-out of the methods that genuinely work, the ones that only work at the right viewing distance, and the ones you should honestly recommend when a customer insists on the white oak atmosphere without the white oak invoice. You will also find cost comparisons, a finishing schedule that keeps results repeatable, and the product choices that separate a frustrating afternoon from a clean, professional outcome.
Yes, you can make birch look like white oak. The imitation will not reproduce the exact ray fleck of quarter-sawn white oak or its open-pore texture, but the overall color, brightness, and general feel can match closely enough that most observers will not notice the difference. The important thing to understand is that no single “oak-colored” stain will get you there. White oak’s color is the result of a warm tan undertone combined with a grayish-white cast and a muted grain contrast. Recreating that combination on birch requires a sequence, not a single can.
Four methods deliver usable results. Each one has a different balance of cost, skill, and believability, and each one is worth knowing before you commit to a project.
Best color match for pale straw-white oak tones. Uses an amber dye base followed by a white-pigmented wipe. Moderate skill required, very controllable.
Lighter, more coastal aesthetic. Simpler to execute and forgiving for less experienced finishers. Less literal grain match, ideal for decor panels.
Hand-painted grain and glaze for architectural accents. High skill and time investment, but gives you full control over the final figure.
Real white oak texture laminated onto a stable birch substrate. The most predictable and production-friendly answer when budgets allow.
The table below summarizes how these four approaches compare on the factors that usually matter during a build.
| Method | Visual match | Grain realism | Skill level | Typical time per panel | Durability | Best used for |
|---|---|---|---|---|---|---|
| Two-step dye and white pigment | Very good tone match | Low to moderate | Moderate | 2 to 3 hours | High | Furniture, cabinets, tabletops |
| Whitewash / pickle | Good for light interiors | Low | Low | 1 to 1.5 hours | Medium | Wall panels, décor, light oak styles |
| Faux grain painting | Excellent when executed well | High | High | 4 to 6 hours | High | Period accents, showcase pieces |
| Oak veneer on birch core | Excellent | Genuine | Medium | 1 hour plus pressing | Very high | Production casework, doors, repeat projects |
Before choosing a finish, it helps to understand what you are actually trying to imitate. White oak and birch are both hard, light-colored hardwoods, but their anatomy is different in ways that directly affect how they absorb stain and how they read under light.
White oak is ring-porous. It grows large earlywood pores each spring that appear as open channels on the surface. These pores create the visible cathedral patterns and the subtle linear streaks that give white oak its character. Quarter-sawn white oak also shows prominent medullary rays, which appear as tight flecks or “tiger stripes” across the board. That fleck is the signature of white oak, and no stain applied to birch can reproduce it.
Birch is diffuse-porous, with small, evenly distributed pores and a fine, uniform texture. Because the grain is quiet, its color is easier to control with dyes and pigments. That uniformity is an advantage when you are trying to hit a specific tone. The trade-off is that birch will never develop oak’s pore structure or ray fleck, so the imitation has to work through color and sheen rather than texture.
| Property | White Oak | Birch (Baltic or Russian) |
|---|---|---|
| Anatomical structure | Ring-porous with large earlywood pores | Diffuse-porous with fine, even pores |
| Typical color | Light tan with a gray-brown undertone | Creamy white with a yellow-amber undertone |
| Grain figure | Pronounced cathedral and ray fleck | Quiet, straight, and uniform |
| Janka hardness | Approximately 1,360 lbf | Approximately 1,260 lbf |
| Surface texture | Open pores, visible texture | Smooth, closed texture |
| Stain behavior | Even, but dark colors need grain filler | Splotchy unless conditioned first |
| Plywood stability | Good, depends on core layup | Very good with cross-banded construction |
| Typical panel cost | Higher | Lower |
These differences explain why a simple wood stain named “white oak” will not work on birch. A stain relies on pigment sitting in the pores of an open-grained wood to create the oak look. Birch has no such pores, so the pigment either sits on the surface in a muddy way or gets absorbed unevenly. The successful methods in this article work with birch’s closed texture, not against it.
There are three honest reasons why this conversion is worth doing, and they apply to both workshop projects and larger production runs.
The first reason is cost. White oak lumber and white oak plywood carry a significant premium over birch panels of comparable grade. The gap fluctuates with timber markets, but in recent cycles birch plywood has often come in at roughly two-thirds the price of a similar white oak plywood panel. For a project with several large surfaces, the difference can be hundreds of dollars in materials alone. If the customer only cares about the final color and has no objection to the smoother birch texture, the savings are hard to ignore.
The second reason is stability. Cross-banded birch plywood has a consistent, balanced core that resists movement across its width. White oak plywood can be stable too, but the availability of well-made white oak cores varies by region and by supply chain timing. For a kitchen cabinet door or a worktable top, the predictable behavior of a high-quality birch core is a genuine engineering advantage.
The third reason is supply. White oak veneer and lumber can be subject to seasonal availability, especially when the market is buying heavily. Birch panels, by contrast, are produced year-round in consistent thicknesses and face grades. A shop that builds a white-oak-look product from birch does not have to wait for a sawmill or a veneer mill to catch up. This reliability matters when you are working on a promised deadline.
If you are new to turning flat panel stock into finished pieces, it is worth reading about how a single sheet of plywood becomes a high-value piece of furniture. Understanding the relationship between core quality, face quality, and final finishing has a direct effect on how well any white-oak-look treatment will come out.
This is the most reliable way to hit the actual white oak color on a birch surface. The principle is simple: white oak is not gray, and it is not yellow. It sits in a narrow band between a soft tan and a dry straw tone. You build that color in two layers. First, a water-based dye adds the warm tan undertone that gives the wood depth. Then, a white-pigmented wiping stain or white oil pulls the brightness back up and mutes the birch grain so the overall tone lands in white oak territory.
The sequence matters more than the brand. If you apply a white pigment first, the birch ends up looking pickled rather than oaken. If you apply only a tan dye, you get a basic amber birch which is nowhere near white oak. The interaction between the two layers is what creates the convincing result.
Always test this sequence on a scrap from the same panel before you commit to the real piece. Birch face veneer can vary slightly from sheet to sheet, especially in color warmth, and the dye ratio that worked on the previous project may need a ten percent adjustment on the next one.
Whitewashing is the approach most people discover first when they search for making birch look like white oak. It is also the one most often done badly. A plain coat of white paint looks like exactly what it is: paint on plywood. But when whitewash is thinned to the right opacity and wiped back strategically, it produces a believable version of the light, airy white oak style popular in coastal and Scandinavian interiors.
The technique works best when the goal is atmosphere rather than literal reproduction. If your client says they want a “white oak look” but the reference photos are all pale floors, whitewashed walls, and softly reflective furniture, pickling is a legitimate and practical answer.
For panels wider than a standard brush stroke, switch to a roller and back-brush the surface to keep the whitewash even. The main limitation of this method is texture. White oak has visible pores; whitewashed birch does not. At close range, the missing texture is noticeable, which is why whitewashing suits décor panels and furniture bodies better than large entrance doors or prominent tabletops.
Faux grain is the old-school answer, and it is still the right one when nothing else will do. This method involves painting the white oak figure directly onto a prepared birch surface using glazes, brushes, and specialty graining tools. It can produce a genuinely convincing white oak look, including the cathedral arches and the subtle linear streaks, because you are drawing the grain rather than relying on the wood to show it.
Faux grain is best reserved for accent panels, custom furniture, and decorative work where the finished piece will be seen up close. It is less suitable for large casework or floors because the handwork is difficult to keep consistent across many square meters.
If you are considering this route, practice on scrap plywood first. The most common failure is painting grain that is too dark and too regular. White oak grain is relatively low in contrast, and a successful faux finish relies on restraint more than drama.
Birch has one well-known weakness in finishing: blotching. The denser areas of the birch face veneer resist stain while the softer springwood areas absorb it, so a pigment stain can come out patchy and striped. This is the reason many people try once to stain birch, get a splotchy mess, and conclude that the white oak look is impossible.
The blotch problem is solvable, but only if you plan for it from the sanding stage onward. The table below lists the strategies that work and when each one is appropriate.
| Strategy | How it works | Best applied when |
|---|---|---|
| Wood conditioner | Pre-seals the surface to slow and equalize stain absorption | Before any pigment-based wiping stain |
| Gel stain | Thick consistency sits on the surface instead of sinking in | Vertical panels, repair areas, touch-ups |
| Higher final sanding grit | Creates a tighter surface and reduces absorbency differences | Final sand at 220 to 320 grit before dye |
| Water-based dye instead of pigment stain | Dyes soak in more evenly and do not create the same contrast | The tan base layer in the white oak sequence |
| Spray application | Even coverage with no over-brushing of the same area | Production shops spraying dye and clear coats |
For the white oak look specifically, the best protection against blotch is to use dye for the tan layer, since dyes are far less blotch-prone than pigmented stains. The white pigment layer is applied as a wipe, and because it is a second step over a sealed dyed surface, its tendency to blotch is much lower. If you still see unevenness, sand back lightly and reapply the dye before adding any white pigment.
The fourth method sidesteps staining altogether. Instead of trying to make birch’s own surface look like white oak, you bond a real white oak veneer face to a stable birch plywood core. The visible surface is genuine white oak, with real pores and real ray fleck, while the core underneath provides the flatness, dimensional stability, and cost control of birch construction.
This is the solution many production shops choose when a customer wants the closest possible match to white oak without specifying fancy lumber grades. It is also the option that makes sense for doors, panels, and casework where the texture of oak is part of the design. A stained finish can imitate the color, but it cannot imitate the feel of running a finger across open oak grain.
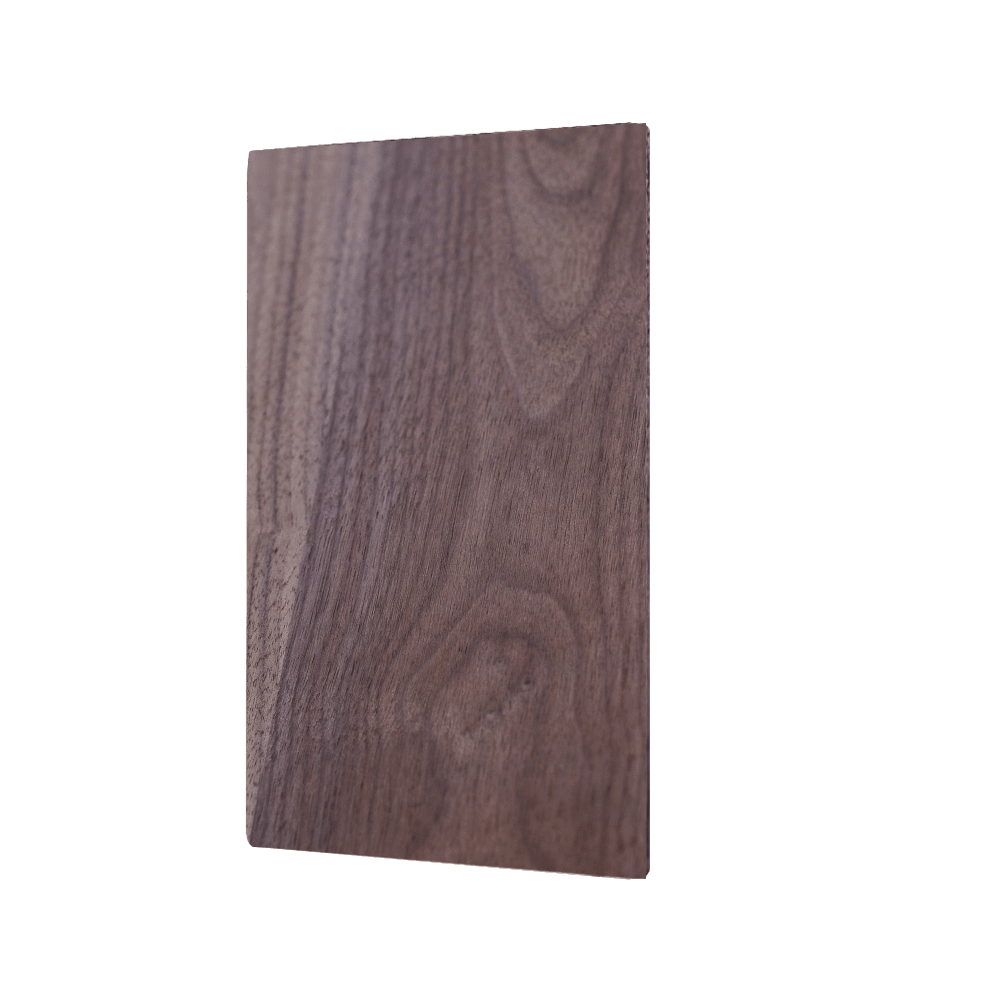
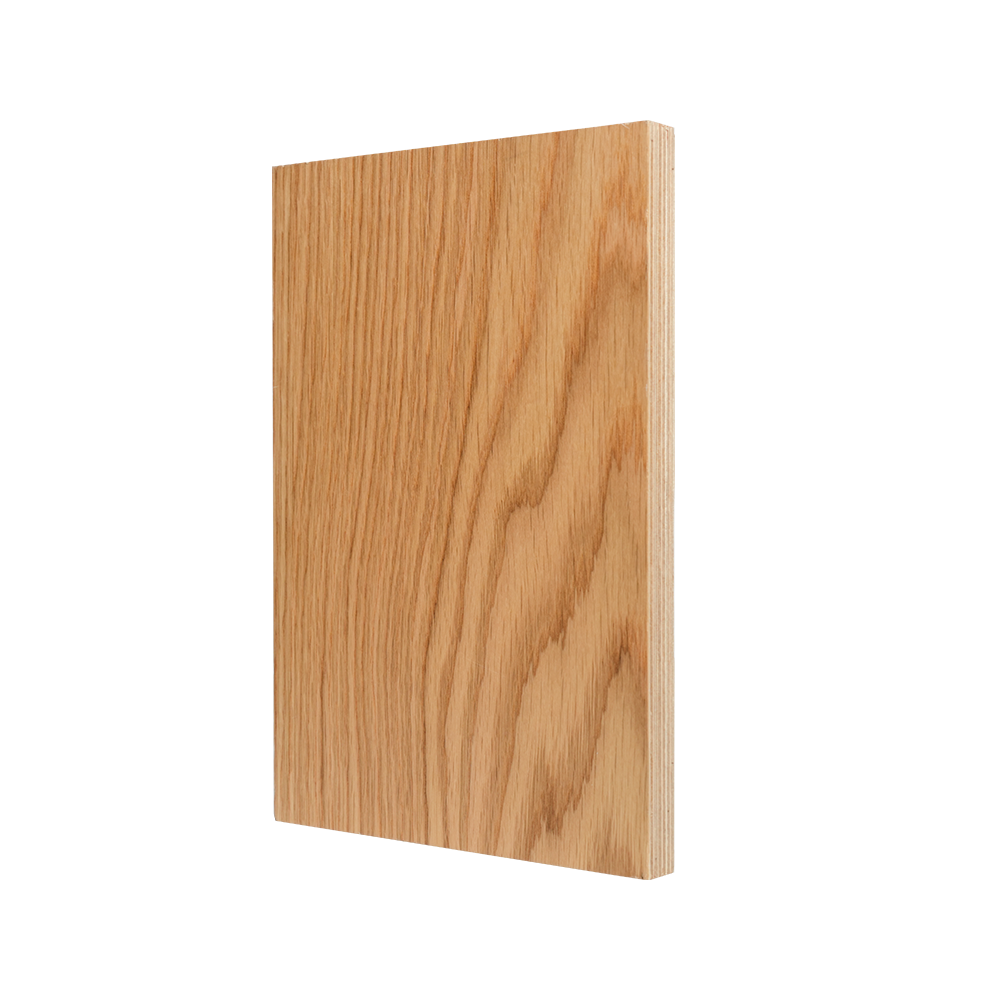 Natural Wood Grain Veneered Birch Plywood for Oak-Matching ProjectsThis birch plywood with a natural oak veneer face delivers the tactile open-grain texture of white oak at a practical cost, making it ideal for doors, panels, and casework where surface feel matters. The stable birch core adds durability without the expense of solid lumber.View Product →
For this reason, a natural-wood-grain veneered birch panel is often the most practical starting point. It gives you the species look you want on the face while keeping the production advantages of birch. And if you prefer to read more about selecting the right face, our overview of natural wood grain veneered plywood goes deeper into how veneer faces are matched and graded.
The combination is particularly attractive for environments with changing seasons. Birch cores are cross-banded in multiple layers, which minimizes the wood movement that can cause open-pore white oak veneer on an unstable substrate to crack or telegraph. You get the aesthetic of white oak with significantly better engineering under the surface.
Regardless of which finishing method you choose, the quality of the birch face veneer will decide how clean the result looks. Face grades are not cosmetic details; they determine whether your white oak imitation starts from a smooth, patch-free surface or from a sheet full of tiny filler lines that show under a light finish.
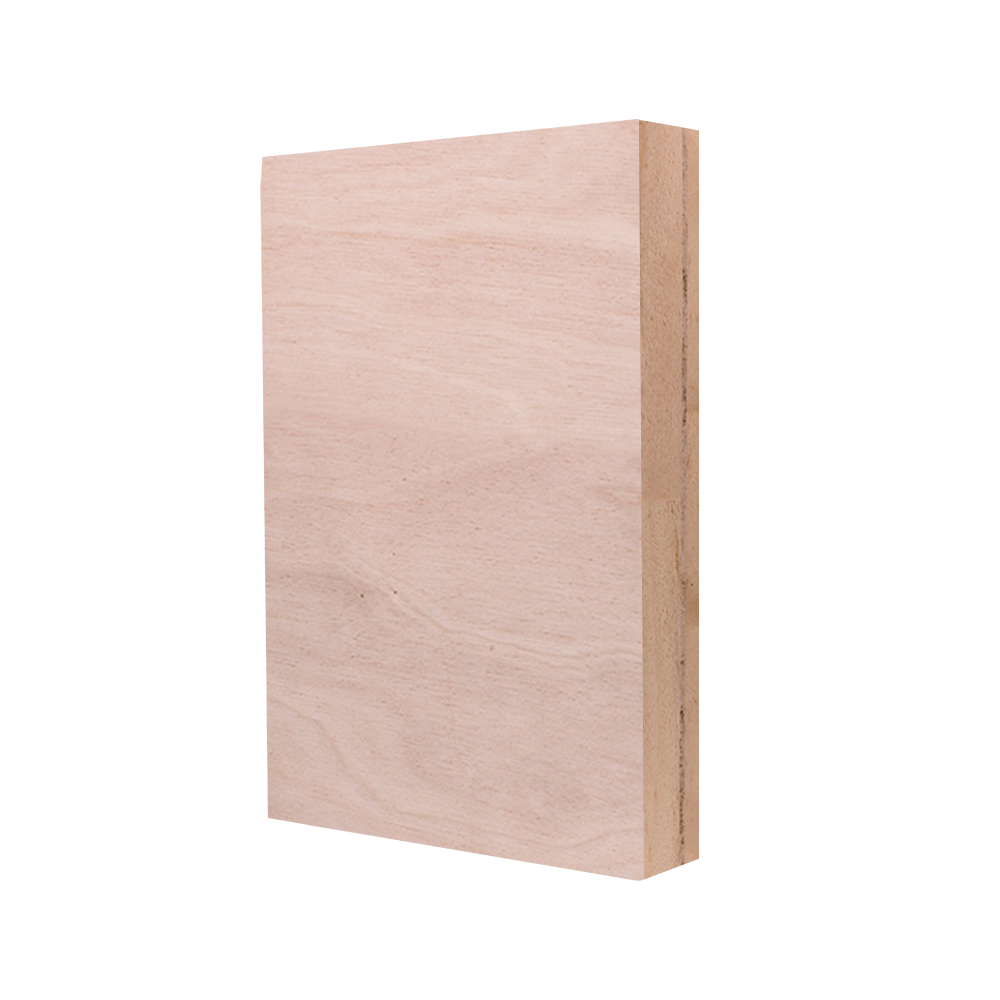
For the two-step dye and pigment method, start with a top-grade face such as B-BB or S-BB. These grades have a clean, fine-textured surface with very few open defects. A lower grade with many patches will need extensive filling before finishing, and even then the repaired areas may absorb dye differently and show up as light or dark spots in the final piece.
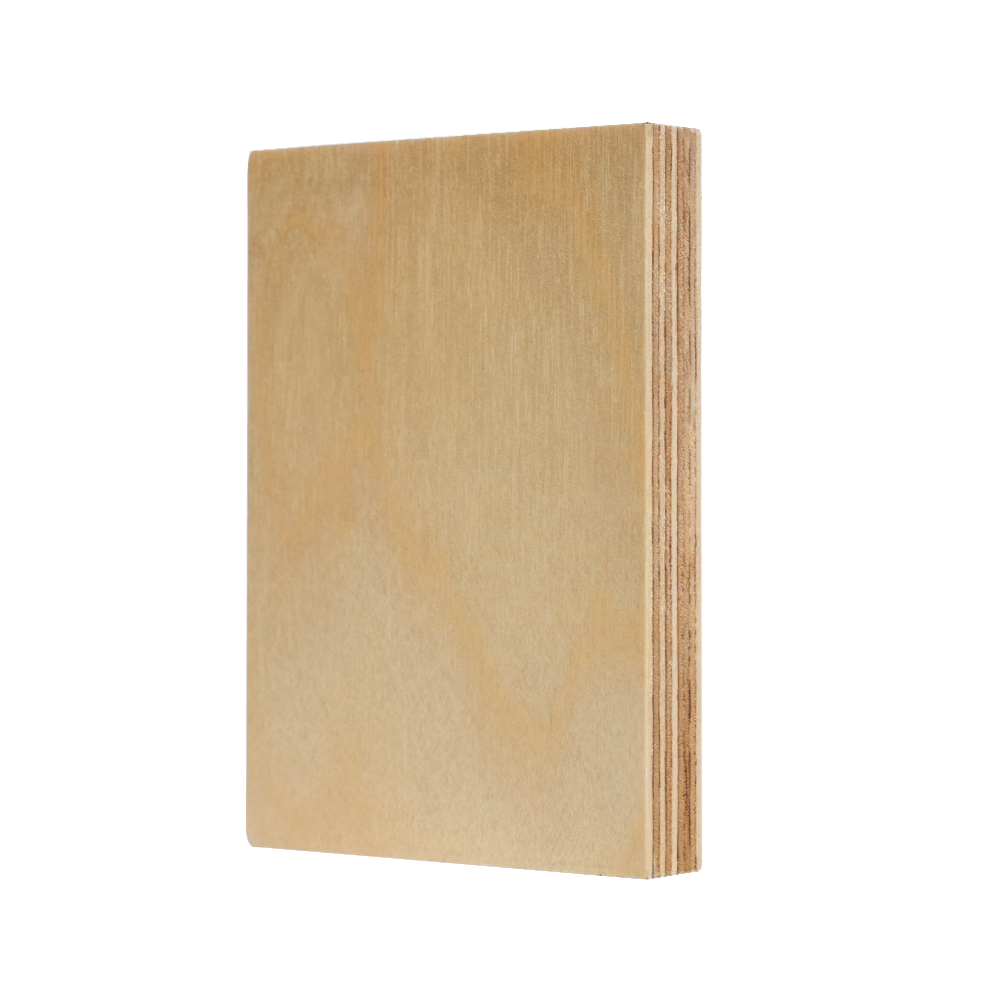 High-Grade B/BB and S/BB Birch Plywood for Clean FinishingThese top-grade birch plywood panels offer clean, fine-textured faces with minimal defects, ensuring even stain absorption and a smooth finish. With a full birch core and cross-banded construction, they provide warp resistance and clean edges, ideal for furniture and cabinetry where appearance is critical.View Product →
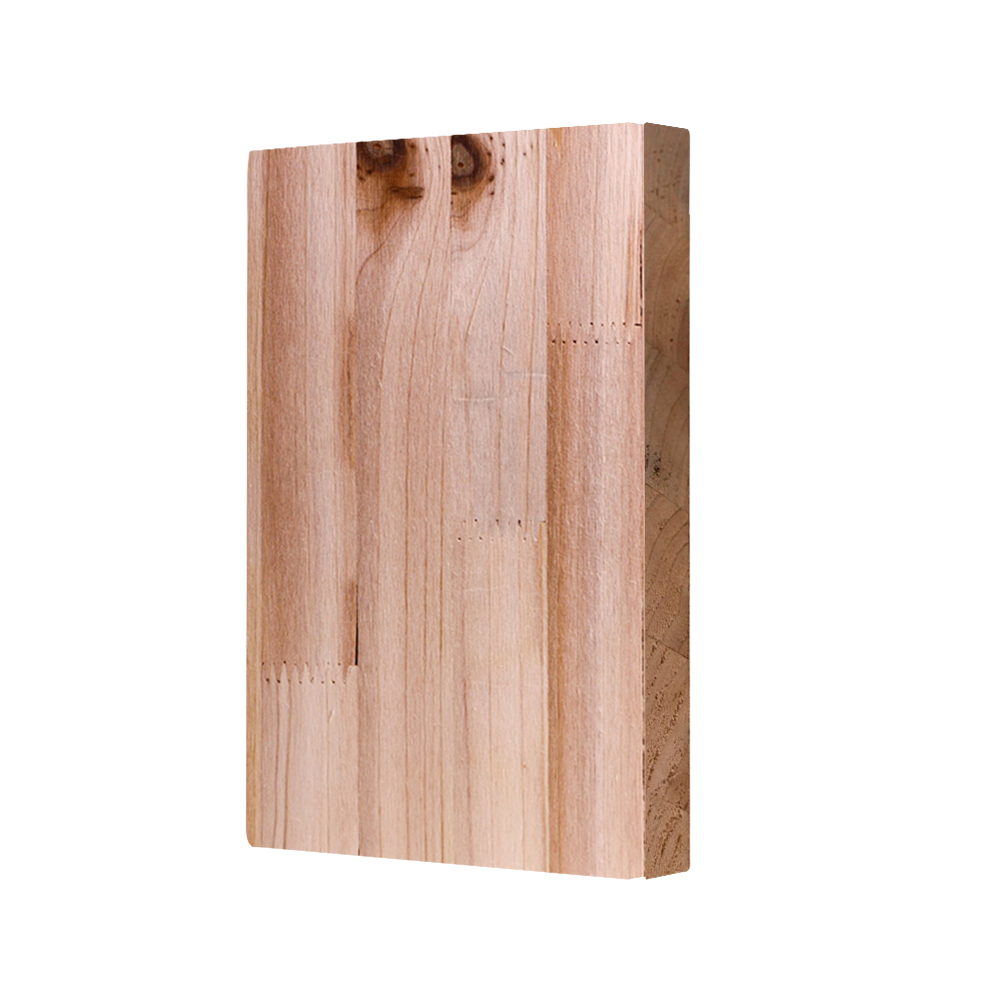
The core of the panel matters too. A full birch core with cross-banded construction is the safest choice for furniture and cabinetry. It resists warping and delivers clean, machinable edges. Cheaper cores with inner void patches are fine for rough work, but they can show telegraphing on the face when the panel moves with humidity changes. If your white oak look is going onto a cabinet door or a tabletop, do not save money on the core.
For repeat projects where consistency is more important than hand-finishing character, a pre-finished birch panel removes most of the variables. UV-coated or pre-colored panels arrive with an even, cured surface that does not need the dye-and-pigment sequence in a workshop. This is especially useful for commercial fit-outs where a whole room needs the same white oak tone.
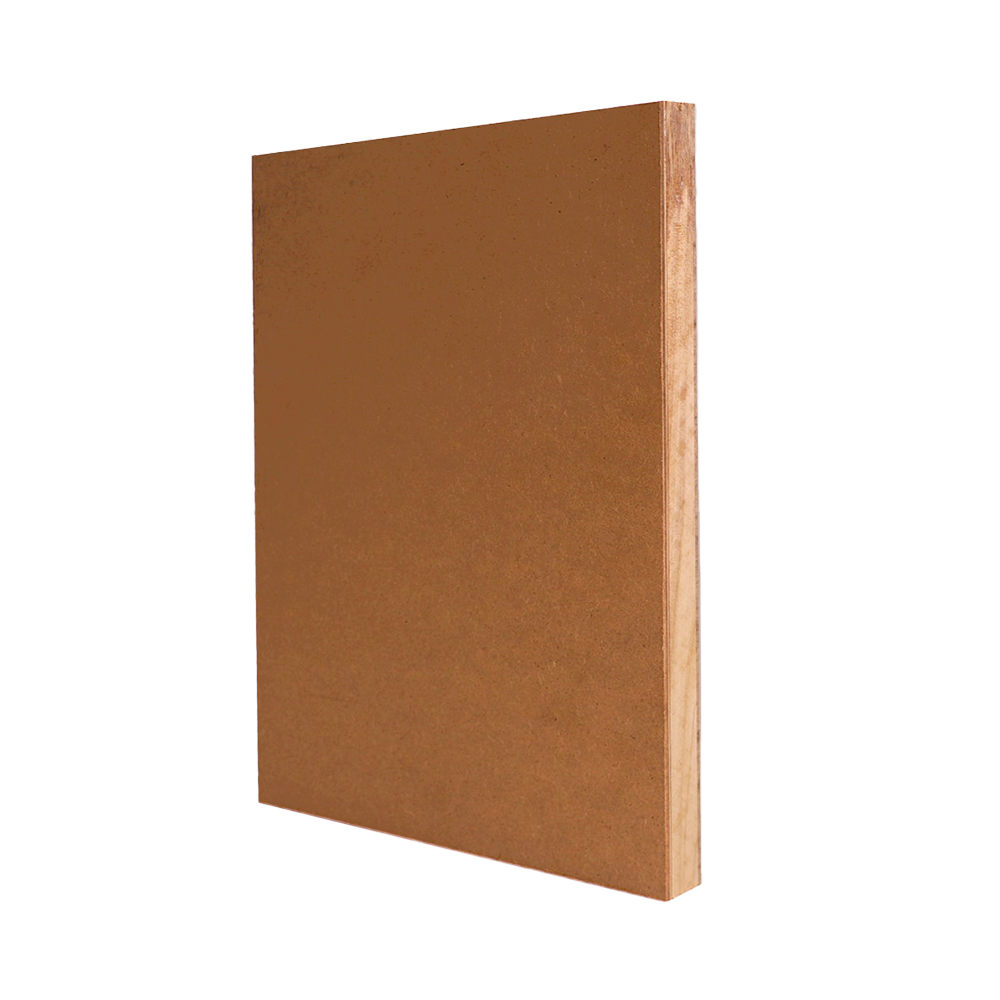
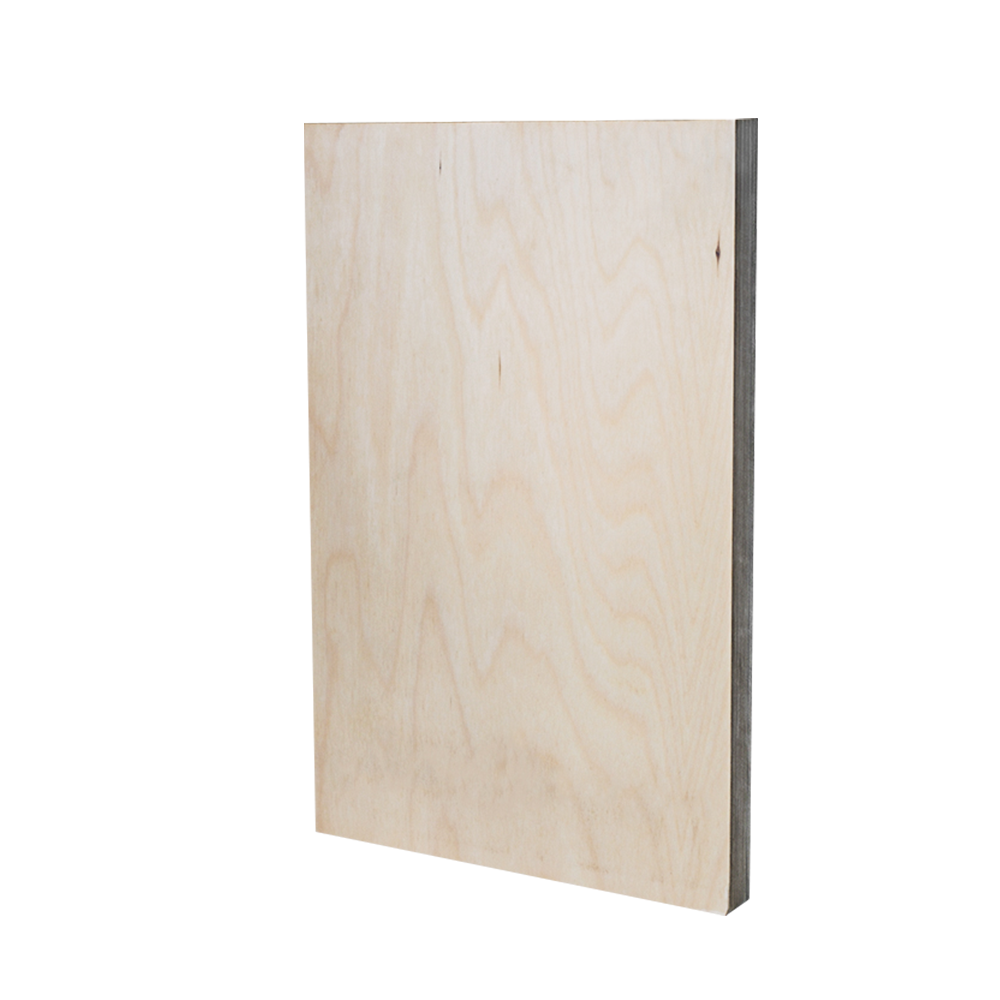 Pre-Finished UV-Coated Birch Plywood for Consistent Oak ToneA factory-applied UV-cured acrylic coating provides a durable, zero-pore surface that resists stains and scratches, delivering a consistent white oak tone across large installations. This pre-finished panel simplifies finishing workflows, making it a reliable choice for commercial fit-outs and repeat projects.View Product →
This schedule combines the techniques discussed above into a single workflow. It is written for a birch plywood panel being finished as a furniture surface or cabinet component, and it produces the closest overall match to white oak that is achievable with stains.
If this sequence feels long, it is worth remembering that white oak finishing is not shorter. Open-pored white oak often needs multiple coats of pore filler before the stain even goes on. On balance, the birch schedule is no more demanding, and the result is far more predictable.
Cost is the main driver behind most attempts to make birch look like white oak, so it deserves a direct comparison. Material prices vary by region and by market cycle, but the relative relationships below have held fairly consistently in recent years.
Rough relative cost per project panel for a white oak look
The chart tells only part of the story, because finishing labor has to be included. A stained birch panel may cost less in material but more in bench time. A pre-finished panel is the opposite: the premium is built into the product, while the labor disappears. The table below shows the full trade-off.
| Option | Material cost per panel | Finishing labor | Total cost level | Final appearance |
|---|---|---|---|---|
| White oak lumber or plywood | Highest | Standard plus optional pore filling | Highest | Genuine white oak with open pores and fleck |
| Birch plywood with dye and pigment | Low | Higher, roughly 1.5 to 3 hours per panel | Medium | Close tone, smooth surface, no oak texture |
| Oak-faced birch panel | Medium | Standard clear coat only | Medium-high | Real white oak face on a stable core |
| Pre-finished UV birch | Medium | None | Medium | Consistent tone, tough finish, repeatable |
For a one-off dining table or a single cabinet, the dye-and-pigment route is the most economical. For a full kitchen or a commercial installation with dozens of doors and panels, the labor hours stack up quickly and the oak-faced or pre-finished options often become more attractive even though the material cost per sheet is higher.
With the two-step dye and white pigment method, the color under normal indoor light can be very close to white oak. The main giveaway is texture, not color. If you place a dyed birch panel next to a genuine white oak panel and run a fingertip across both, the oak feels open and porous while the birch feels smooth and tight. Visually, the difference is minor.
Yes, but only if you dilute it and wipe it back, as in the whitewash method. A solid coat of white paint will not look like white oak because it hides the wood entirely and leaves a flat, opaque surface. The trick is to keep the birch tone visible underneath so the final result has a translucent, layered feel.
Good quality birch plywood is generally very stable because it is built with multiple cross-banded layers of birch veneer. White oak plywood is also stable, but the quality of its core depends on the manufacturer. A well-made full-birch core is a predictable choice for furniture and cabinetry, which is why many shops prefer it for flat panels where warp resistance matters.
The oak-faced birch panel has the most durable combination if it is coated with a quality clear finish, because the oak face is a genuine hardwood surface that wears well. The dye-and-pigment method is nearly as durable once the topcoat is applied, but a scratched area in the white pigment will be more visible than a scratch in an oak face. Whitewash is the least durable for heavy use and is better suited to wall panels and low-abrasion surfaces.
For a pigment stain, yes. For the dye-and-pigment sequence described here, the dye itself is less prone to blotching, but a light sanding sealer before the dye is still recommended for the most even result. Skipping all surface preparation is the main reason birch staining goes wrong.
The color treatment can be applied to birch flooring or underlayment panels, but wear resistance is the deciding factor. Floors need a tough two-component polyurethane or a UV-cured factory finish. The dye layer is not a protective finish; it must sit underneath a floor-grade clear coat. For large floor areas, a pre-finished birch product is usually a more reliable choice.
The color layers themselves are lightfast if you use quality water-based dyes and pigmented stains. The clear topcoat will slowly amber slightly if you use a solvent-borne polyurethane, so a water-based satin clear coat is the safer option when you want to keep the pale white oak tone stable for years.
Skipping the sanding steps and applying a single thick pigmented stain directly to the raw panel. The result is blotchy, uneven color that looks neither like oak nor like finished birch. The fix is to work in thin layers, test on scrap, and let each layer dry before deciding whether the tone needs adjustment.
So, can you make birch look like white oak? Yes, and for most projects the honest answer is that you can get close enough to satisfy a discerning customer, provided you choose the right technique and set the right expectation from the beginning.
For the closest possible match without any compromises on texture, the oak-faced birch panel is the route to recommend. It carries real oak grain on the surface and a stable birch core underneath, which is why production-oriented woodworkers often choose it for repeat work. For a one-off project, the dye-and-white-pigment sequence is a proven, low-cost method that produces a convincing white oak tone on a smooth birch face. Whitewashing and faux grain are useful specialty tools, but they serve aesthetics that are not literal white oak.
Whichever path you choose, start with a clean, even birch panel, respect the preparation steps, and always test your finish sequence on a scrap piece. The material works with you rather than against you when you give it the same care you would give a more expensive hardwood. That is the real secret to making a budget-friendly material deliver a premium look.


Copyright © Tianma Lvjian Group Co., Ltd. Rights Reserved.
Wholesale Construction Plywood Manufacturers Privacy
 English
 中文简体
中文简体