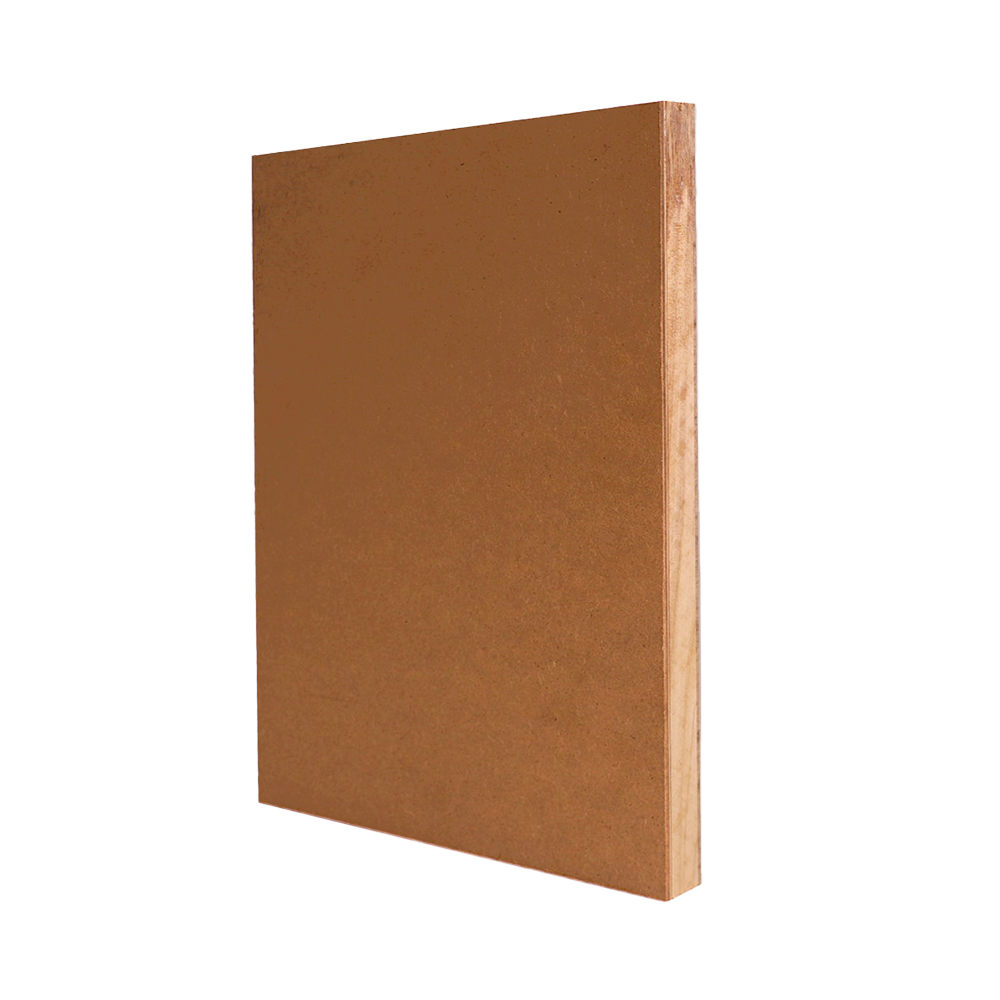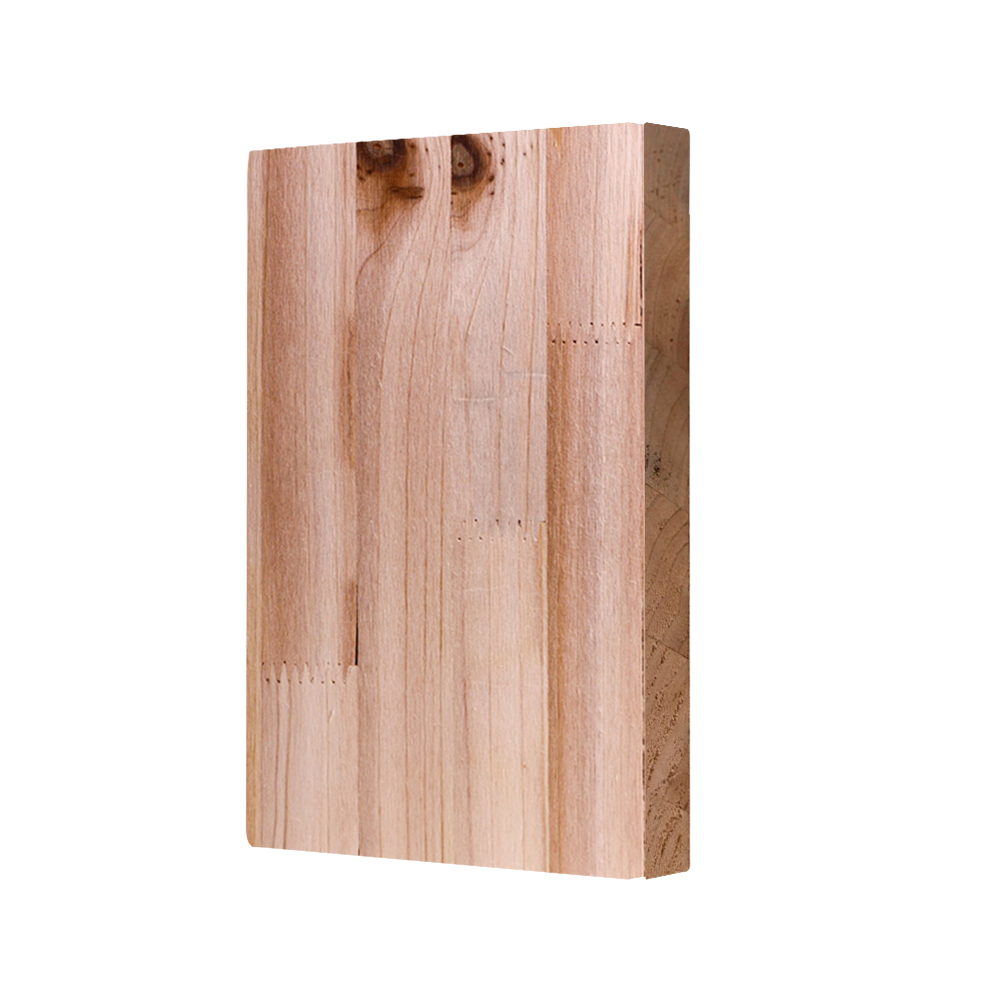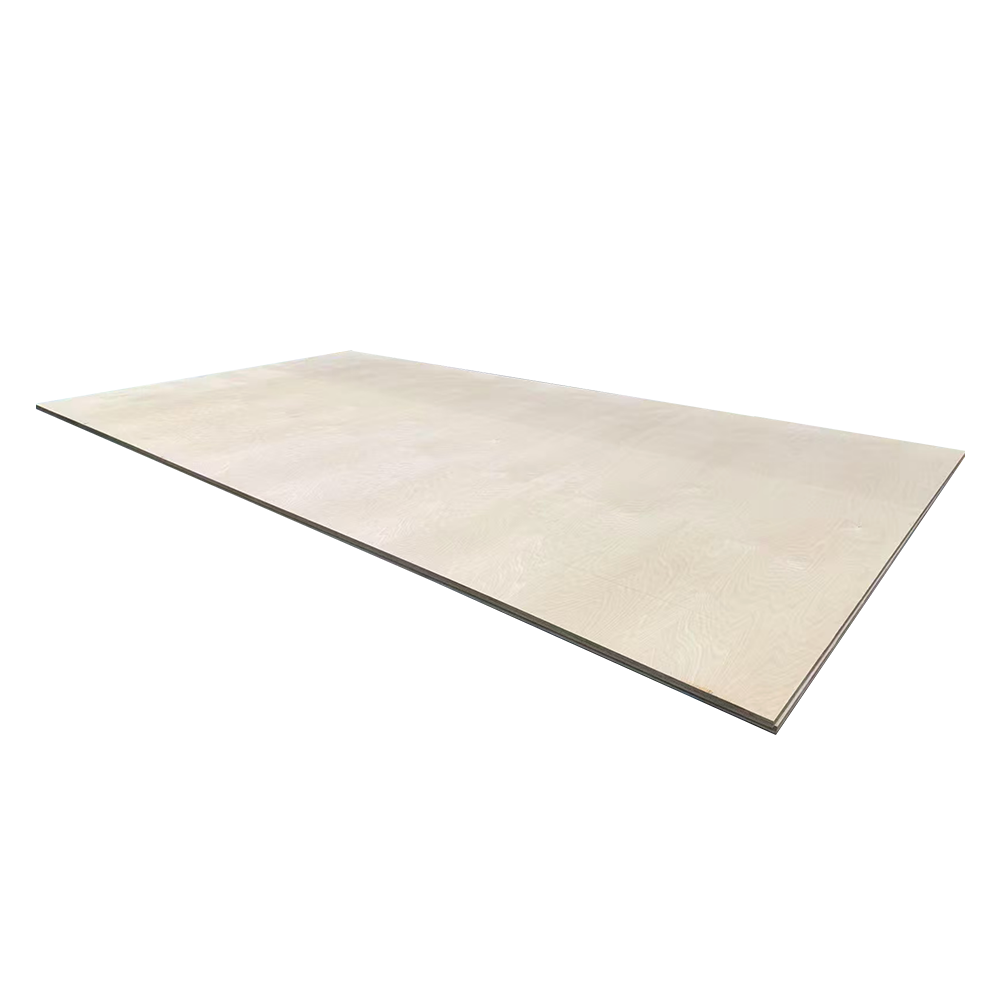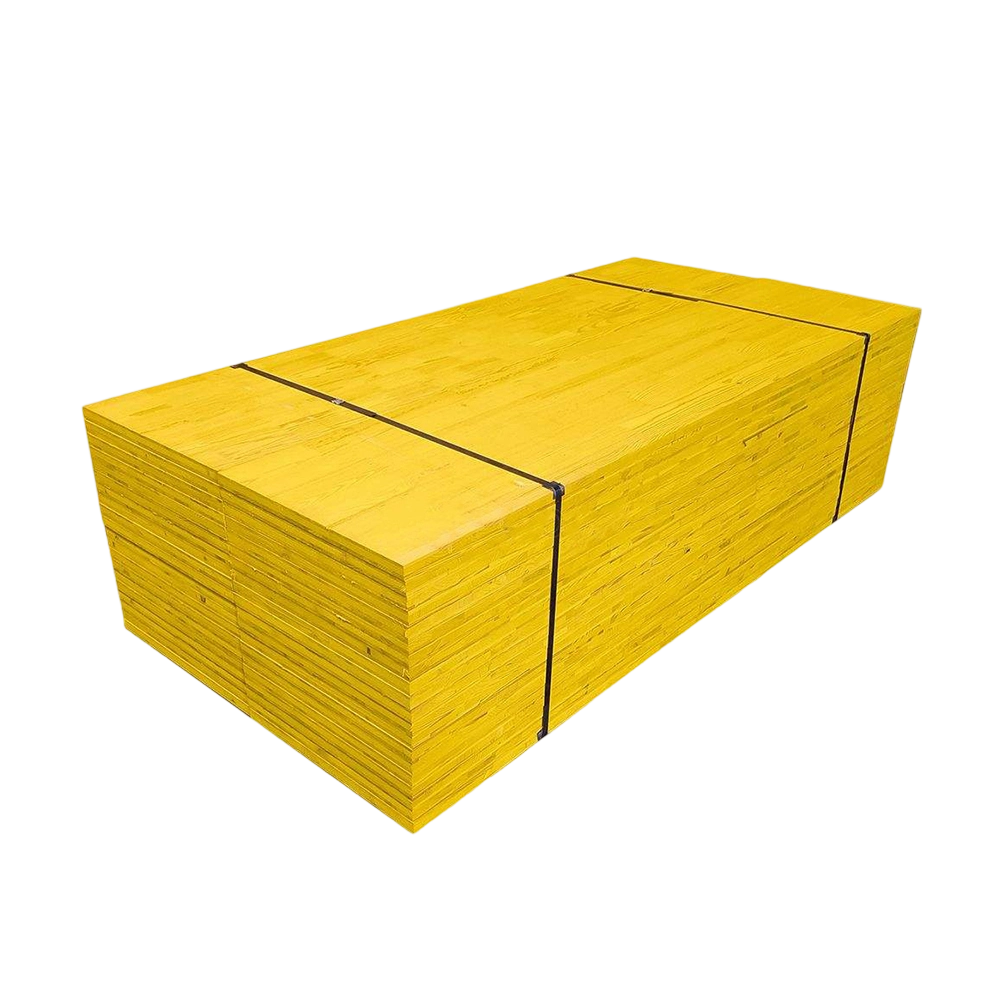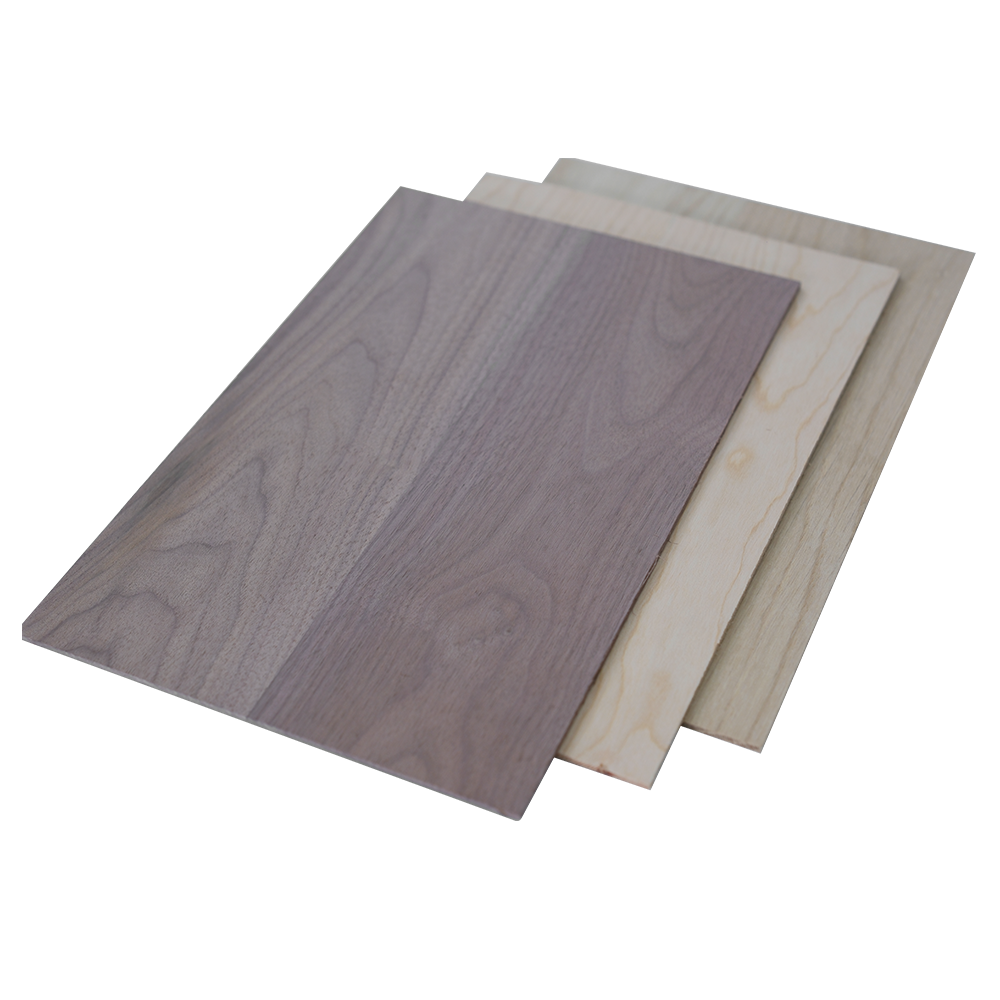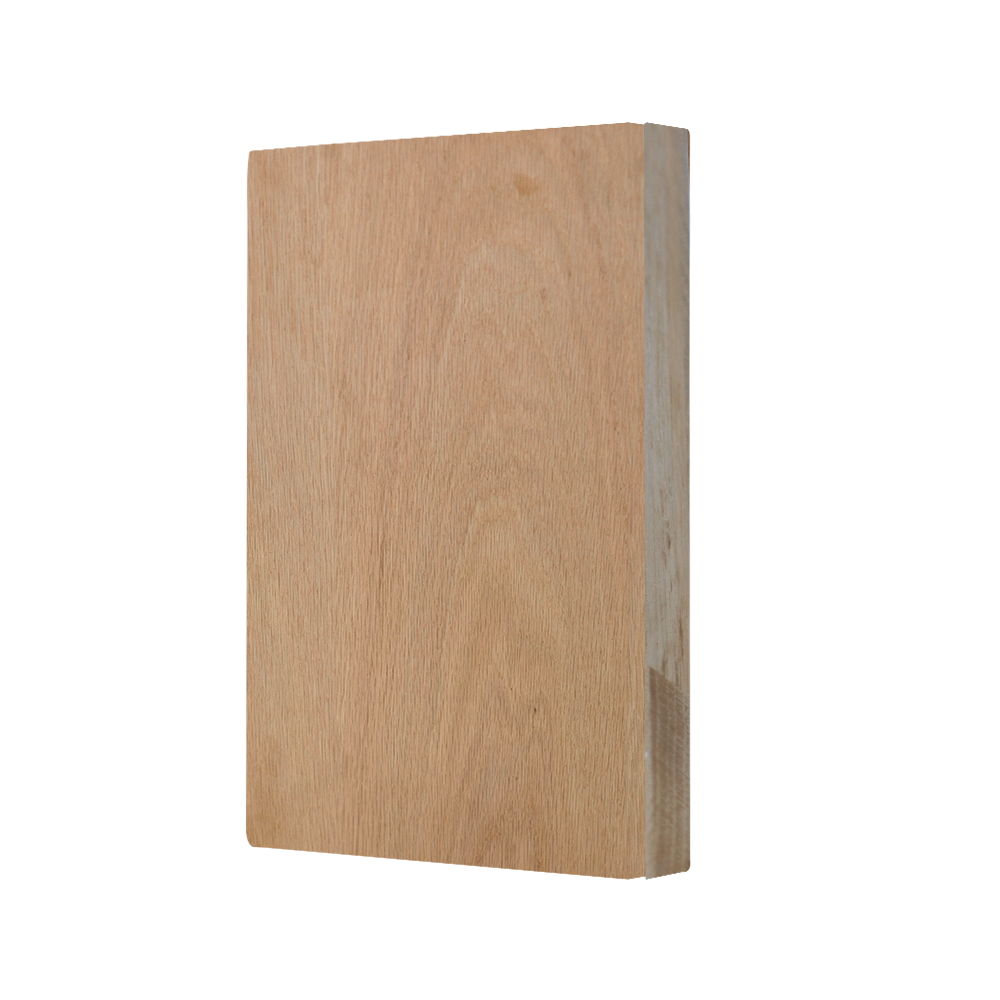

Finishing birch plywood is not one single task. It is a short chain of decisions: what the panel surface actually is, how the edges and core will be sealed, which coating system suits the final exposure, and how the workshop environment supports the cure. Get those decisions in the right order, and a birch plywood panel can look clean, feel smooth, and survive years of handling. Skip one of them, and the same panel can show raised grain, telegraphing, edge swelling, or a finish that flakes at the first knock.
The short answer: sand progressively without over-polishing, seal the edges and any exposed core, prime with a system compatible with the adhesive, then apply thin coats rather than one heavy coat. The longer answer depends on whether you are finishing a raw B-BB panel, a film-faced panel, a veneered board, or a Clearply sheet. Each surface behaves differently, and each end use changes the tolerance for moisture, abrasion, and visual perfection.
In a workshop, the word "finish" can mean three separate things. First, it means surface preparation: sanding, filling, and removing contamination. Second, it means protection: sealing the wood against moisture, abrasion, and handling damage. Third, it means appearance: changing color, gloss, texture, or grain definition.
Birch plywood adds a fourth factor that solid wood does not have: the glue line. A birch panel is a cross-banded assembly of veneers bonded with an adhesive. That adhesive may be interior-grade, moisture-resistant, or WBP phenolic. The finish must not attack the glue line, and the glue line must not reject the finish. A coating that bonds perfectly to a solid birch board may crawl, fish-eye, or crack over a plywood edge because the adhesive chemistry is different from the wood itself.
There is also the question of veneer thickness. A high-grade face veneer can be sanded lightly and recoated. A thin face, or a repaired face, has very little margin. Once you sand through the face, the repair is visible and expensive. For that reason, the first rule of finishing birch plywood is to identify how much face veneer you can safely remove before you start.
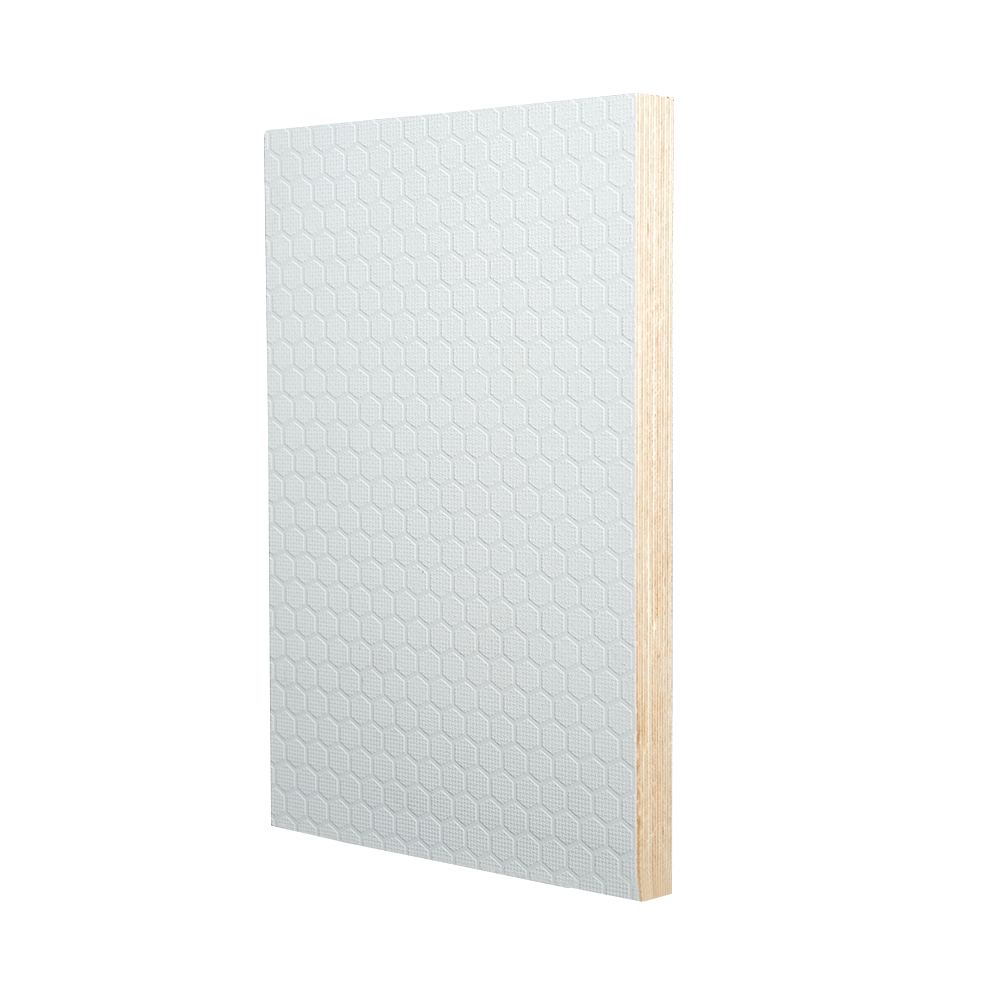
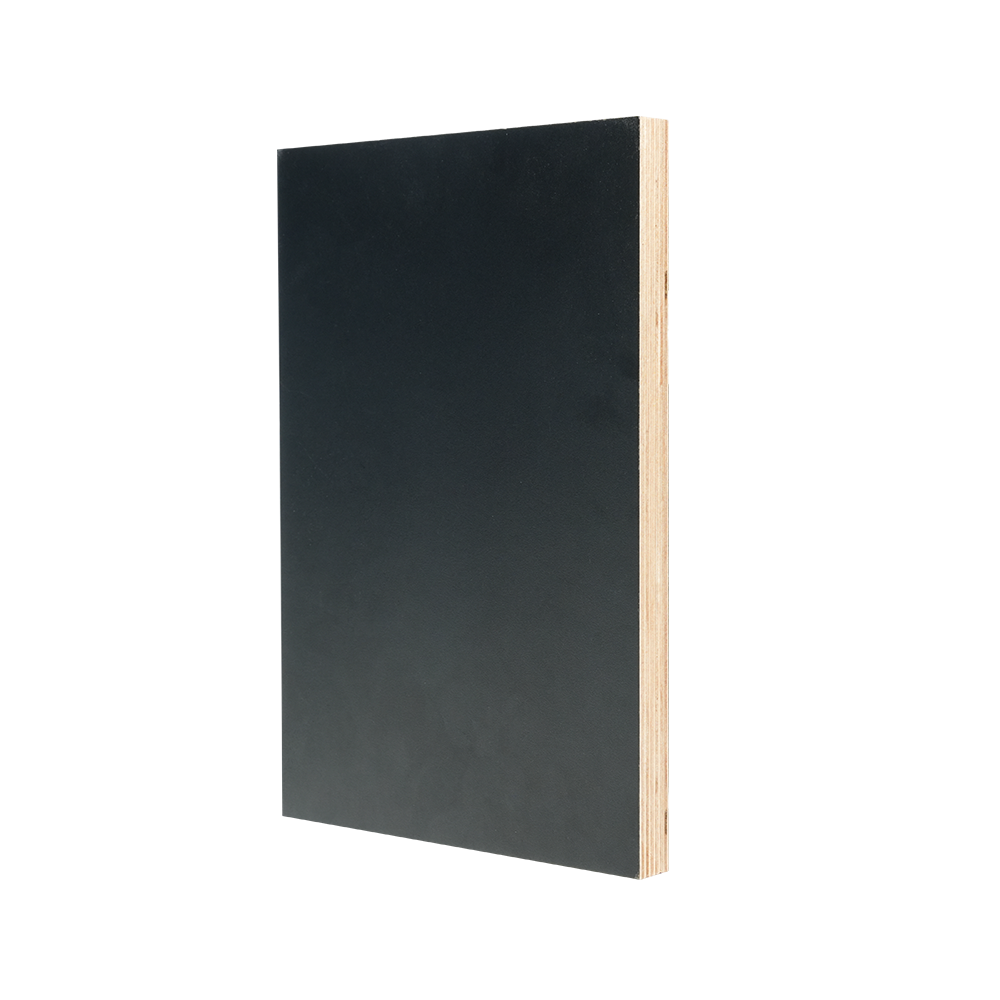
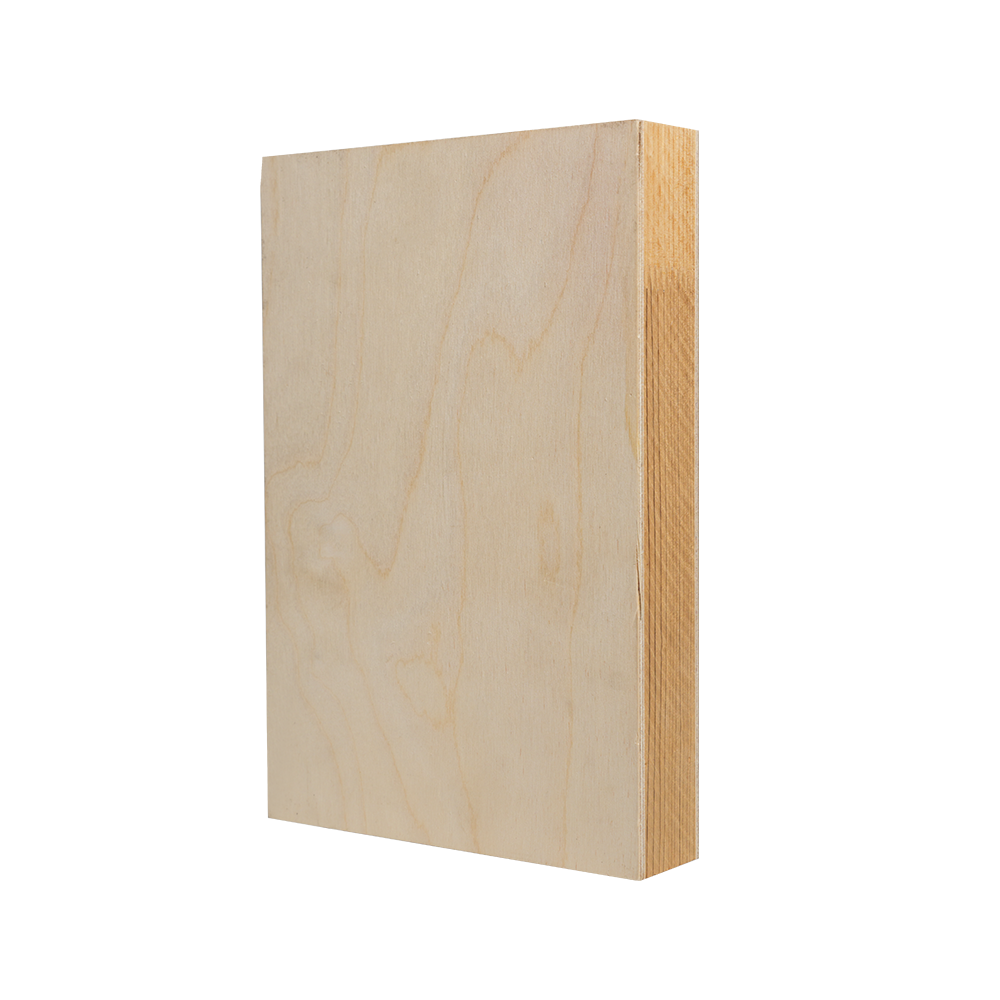
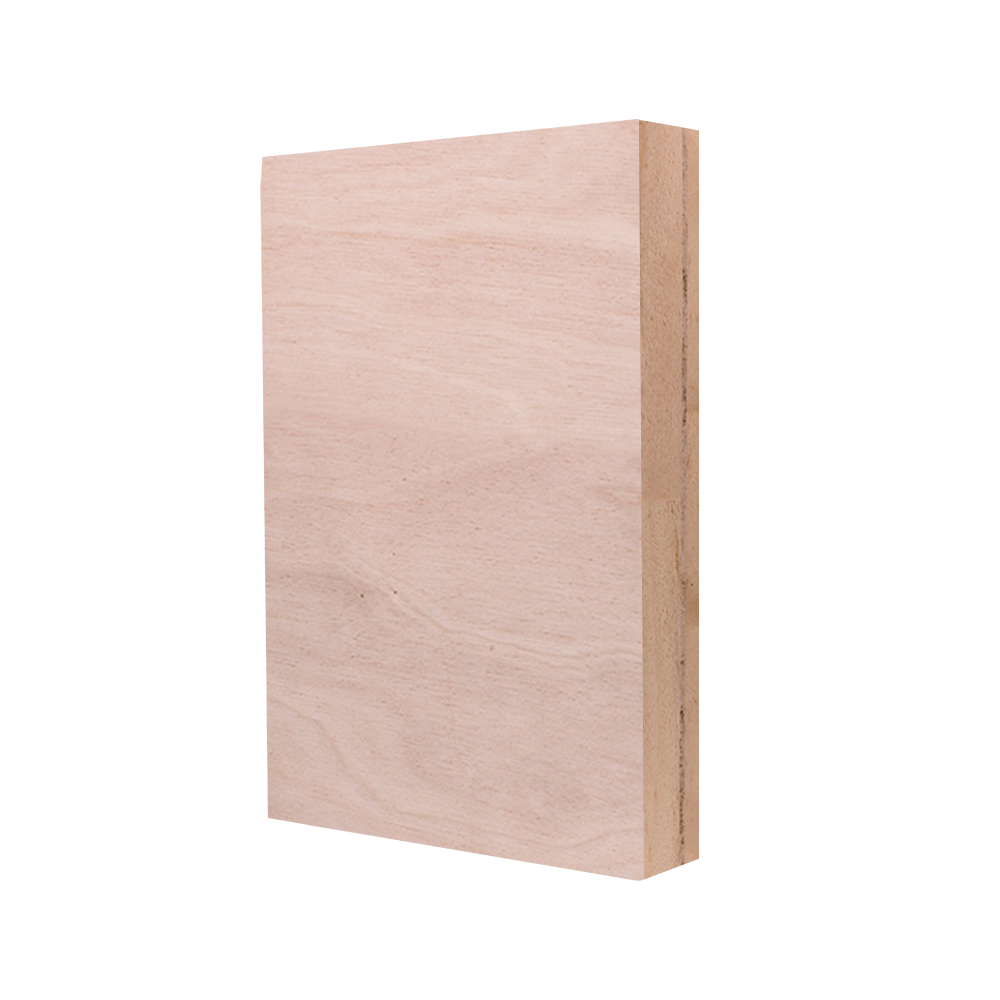
Start by asking what the panel is. A raw birch plywood sheet, a film-faced sheet, a melamine-faced sheet, and a veneered board all have different finishing paths. Raw birch faces can be sanded and coated. Film-faced surfaces are already a finished surface and usually should not be sanded at all. Melamine faces need a bonding primer or a mechanical key. Veneered boards may need only a light scuff and a clear coat.
Check the surface grade as well. B-BB and S-BB faces are intended to show a clean face, so the finish should preserve the grain rather than hide it. BB-BB and BB-CP may contain small repairs or color variation that a pigmented finish can disguise. CP-CP and C-C-C grades are often used where the panel will be painted, overlaid, or hidden, so a heavy film build is acceptable.
Look for practical warning signs before sanding:
If the panel has been stored in a cold or humid space, let it acclimatize to the finishing area before you open the grain. A sudden move from a cold store to a warm workshop can cause surface condensation that is invisible until the first coat dries with a cloudy haze.
Sanding is where most finishing problems begin. The goal is not to make the panel glassy. The goal is to create a uniform, slightly open surface that accepts the primer evenly. Birch is a closed-grain hardwood, so it does not need aggressive sanding. In fact, over-sanding with fine grit can burnish the surface, close the pores, and reduce adhesion.
A practical sequence for raw birch plywood is:
| Stage | Grit | Purpose | Practical note |
|---|---|---|---|
| Flattening | 120 | Remove mill marks, slight surface unevenness, and old contamination | Use a sanding block or wide belt; keep the machine moving |
| Preparation | 150 to 180 | Create a uniform scratch pattern for primer | Most raw birch faces are ready after this step |
| Pre-primer scuff | 180 to 220 | Open the surface slightly for better primer wetting | Stop at 220 for clear coats; 180 is often enough |
| Between coats | 320 to 400 | Remove dust nibs and level the dried film | Sand lightly by hand; do not cut through the coat |
Two details matter more than the grit numbers. First, always sand with the grain on the face veneer, even though plywood has cross-banded layers. Second, remove dust completely between steps. A tack cloth, a vacuum with a brush attachment, or a clean compressed-air pass will do more for finish quality than an extra coat of expensive topcoat.
Do not use steel wool on raw birch before coating. Fine steel fibers can break off and leave tiny rust spots under a water-based finish. If you need to scuff between coats, use a fine abrasive pad or 400-grit paper.
Edges are the weakest point of any plywood finishing job. The edge exposes end grain, adhesive lines, and sometimes small voids. End grain absorbs coating faster than the face, so the edge can look dry and starved while the face looks properly sealed. Later, moisture enters through the edge, the core swells, and the finish cracks along the glue line.
Seal edges before you apply the main finish. A simple edge-sealing routine works well:
For panels used in wet or humid conditions, consider a moisture-resistant edge treatment. A WBP-bonded birch plywood may have excellent internal moisture resistance, but the exposed edge still needs protection. The same principle applies to cutouts for sinks, cables, or hardware. Every cut exposes new core, and every exposed core is a potential entry point.
If the panel will be used outdoors or in a repeatedly wet area, edge sealing is not optional. It is the difference between a panel that lasts one season and a panel that lasts many years.
There is no universal best finish for birch plywood. The right choice depends on exposure, abrasion, appearance, and production constraints. The table below compares the systems most commonly used in furniture, cabinetry, wall panels, and light construction applications.
| Finish system | Best for | Appearance | Moisture resistance | Notes |
|---|---|---|---|---|
| Water-based clear lacquer | Interior furniture, wall panels, cabinets | Clear, low yellowing | Moderate | Raises grain slightly; sand lightly after first coat |
| Solvent-based polyurethane | Furniture, shelving, high-touch surfaces | Warm amber tone | Good | Strong film; needs good ventilation |
| Hard-wax oil | Interior design panels, natural-look furniture | Matte, natural grain | Low to moderate | Easy spot repair; not a heavy protective film |
| Phenolic or melamine film | Formwork, industrial surfaces, wet areas | Opaque or colored | High | Usually factory-applied; not a workshop coating |
| UV-cured clear coat | Pre-finished panels, flat production | Clear, uniform gloss | Good | Requires factory curing equipment |
| Exterior-grade paint system | Exterior trim, signs, protected outdoor use | Opaque | High when intact | Edges and back must be sealed as carefully as the face |
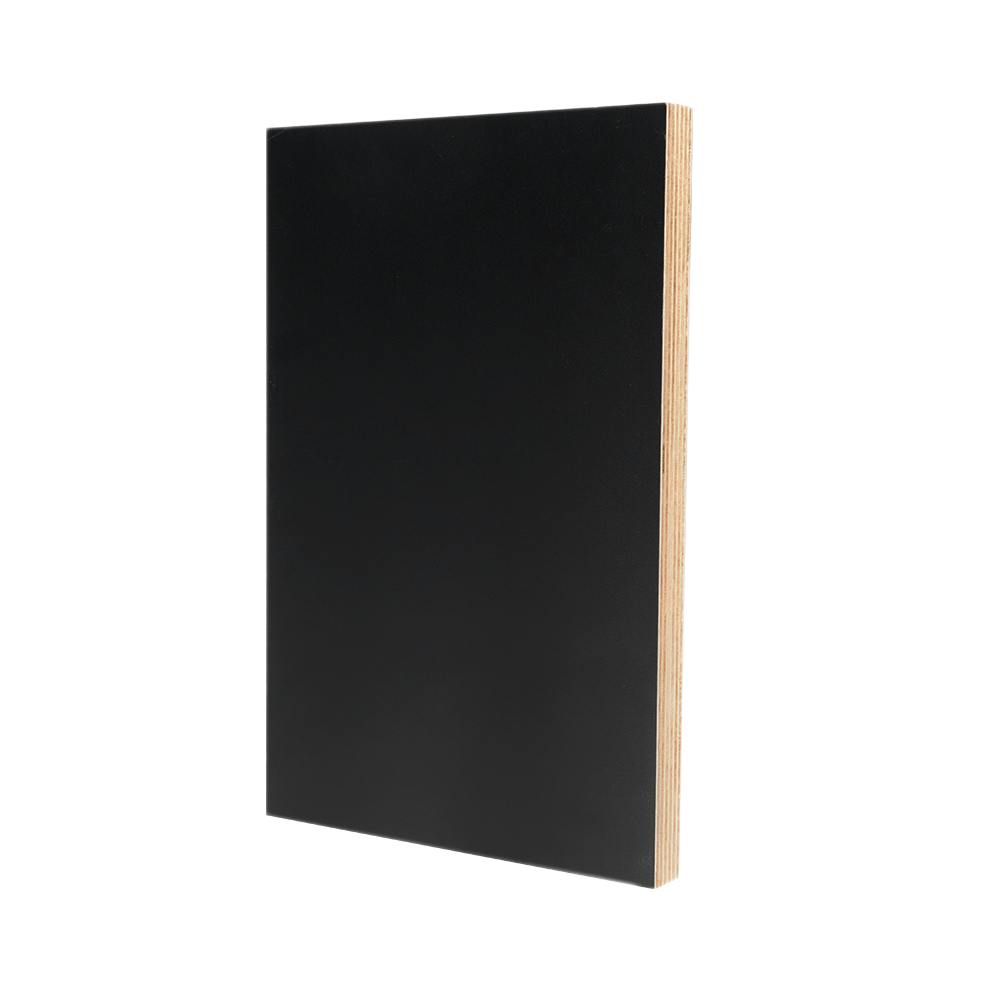 Smooth Film-Faced Birch PlywoodSmooth Film-Faced Birch Plywood plays an indispensable role in the construction industry. The core is made of 99.99% birch veneer staggered and bonded, and the surface...View Product →
For interior birch plywood that will be seen, a water-based clear lacquer or a hard-wax oil usually gives the most natural result. For a surface that will be touched constantly, such as a tabletop or a cabinet door, a polyurethane or a pre-finished UV coating offers better abrasion resistance. For a panel that will be painted, the finish system matters less than the primer and the edge sealing.
If the panel will be used in a humid interior, choose a coating rated for moisture exposure and seal every edge. If the panel will be used outside, use an exterior-rated coating system and accept that even the best coating is a maintenance item, not a permanent barrier.
A repeatable application sequence prevents most defects. The exact products change with the chosen system, but the order of operations stays consistent.
Spraying gives the most uniform result on large birch panels, especially when the face veneer is thin and the grain is tight. Brushing is acceptable for small pieces, edges, and touch-up, but it can leave lap marks on a large face. Rollers can work with the right nap and the right coating, but they tend to introduce bubbles unless the coating is formulated for roll application.
One practical rule: never apply the next coat because the clock says so. Apply it because the previous coat has reached the correct stage. Humidity, temperature, and air movement change drying times more than most finishers expect.
Not every birch plywood panel starts as raw wood. Film-faced birch plywood has a resin-impregnated paper bonded to the face. Melamine-faced panels have a decorative paper layer. Clearply products use a transparent film that preserves the wood grain while adding a protective surface. These panels are often bought precisely because they do not need a workshop finish, but they still need edge treatment and careful handling.
Do not sand a film-faced surface to "improve adhesion" unless the manufacturer specifically recommends it. The film is the finish. Sanding through it exposes the veneer and creates an uneven appearance that cannot be repaired easily. If the film surface is glossy and needs a different sheen, use a compatible primer or an adhesion promoter rather than abrasive sanding.
Melamine surfaces are non-porous and can reject ordinary wood coatings. Use a bonding primer designed for melamine, or scuff the surface very lightly with a fine abrasive pad and clean it thoroughly. Clearply surfaces usually need only cleaning and edge sealing. If a Clearply panel is cut, the cut edge should be sealed with a clear or matching edge sealer to prevent moisture ingress.
For any faced panel, the edges are the finishing task. Cut edges expose the core and the adhesive lines, and they absorb moisture faster than the face. A thin bead of edge sealer, applied in two passes, will do more for long-term performance than an extra coat on the face.
Finishing failures are often blamed on the coating when the real cause is the environment. Birch plywood is dimensionally stable compared with solid wood, but it still responds to moisture. If the panel gains or loses moisture after coating, the finish can crack, blush, or delaminate.
Keep the finishing area within a practical range:
If the workshop is cold, warm the panel and the coating before application. If the workshop is humid, allow extra drying time and consider a dehumidifier. If the workshop is dusty, finish at the end of the day when other machining has stopped, and let the coating cure overnight.
Most defects on finished birch plywood fall into a small number of categories. The table below lists the cause and the practical correction.
| Defect | Likely cause | Correction |
|---|---|---|
| Raised grain | Water-based coating on an unsanded or over-sanded face | Sand lightly after the first coat, then recoat |
| Fish-eye or crawling | Silicone, oil, or release-agent contamination | Clean with a compatible cleaner, sand, and test a small area |
| Edge swelling | Unsealed edges or cutouts | Seal all edges and cutouts with two thin coats |
| Telegraphing | Face repairs, glue lines, or subsurface voids | Fill and level before coating; use a primer with good filling |
| Blushing or cloudy film | Moisture trapped in a solvent-based coating | Reduce humidity, improve air movement, or switch to a water-based system |
| Poor adhesion | Over-sanding, contamination, or incompatible primer | Re-sand to 180 grit, clean, and use the correct primer |
| Cracks along the glue line | Movement caused by moisture ingress at the edge | Seal edges, control the environment, and allow full cure |
If a defect appears, stop and identify the cause before recoating. Adding more finish over a contaminated or swollen surface usually makes the problem larger and harder to repair.
Furniture and cabinet panels are judged by touch and sight. The finish should preserve the birch grain, resist fingerprints, and survive cleaning. A water-based clear lacquer or a hard-wax oil works well for a natural look. For high-use surfaces, a polyurethane or a factory-applied UV coating provides better wear resistance. Sand to 220 grit, seal the edges, and apply two thin topcoats. If the panel will be used for a kitchen cabinet, choose a coating that resists moisture and household cleaning agents.
Decorative wall panels are often large and visible. Uniform sheen and consistent color matter more than heavy abrasion resistance. A matte hard-wax oil or a clear water-based lacquer gives an even appearance with low reflectivity. Seal the edges and any cutouts, and keep the coating thin so the grain remains crisp. For panels with natural veneer, test the finish on an offcut first, because different veneer sheets can absorb coating at different rates.
In bathrooms, laundries, and utility rooms, moisture is the main enemy. Use a moisture-resistant coating system, seal every edge and cutout, and avoid unfinished backs. If the panel is WBP-bonded or marine-bonded, the core is more resistant, but the face and edges still need protection. A phenolic or melamine film is a strong choice where appearance requirements allow it.
Exterior finishing requires a system approach: exterior-rated coating, sealed edges, sealed back, and a design that allows water to drain. Even a well-finished birch plywood panel will need periodic maintenance outdoors. If the panel is used for signs, trim, or protected outdoor features, use a primer and topcoat rated for exterior exposure, and inspect the edges every season.
Industrial panels are usually chosen for durability rather than appearance. Film-faced and phenolic-coated surfaces resist abrasion, moisture, and chemicals. If a raw birch panel is used for a work surface, a high-build polyurethane or an epoxy system may be appropriate, but the edge sealing remains critical. For cutting tables, jigs, and fixtures, a smooth film-faced surface often outperforms a workshop-applied coating.
Finishing choices affect more than appearance. They affect labor, drying space, and the time a panel must stay out of service. A water-based clear coat dries quickly and has low odor, but it can raise grain and may need an extra sanding step. A solvent-based polyurethane builds a durable film but needs ventilation and a longer cure. A hard-wax oil is easy to apply and repair, but it offers less protection against standing water.
| Route | Relative labor | Drying and cure | Repairability | Best match |
|---|---|---|---|---|
| Water-based clear lacquer | Low to medium | Fast | Moderate | Interior furniture and panels |
| Solvent-based polyurethane | Medium | Medium to slow | Moderate | High-touch furniture and shelving |
| Hard-wax oil | Low | Fast to medium | High | Natural-look interior panels |
| Factory-applied film or UV coat | None in workshop | Already cured | Low | Production work, wet areas, industrial use |
 ClearPly Phenolic PlywoodPhenolic transparent film meets industrial-grade protection. Laminated onto high-grade B/BB or BB/BB birch plywood, ClearPly preserves the natural wood grain while del...View Product →
If the panel is part of a larger production run, choose a finish system that matches the available drying space and the required throughput. A slow-curing finish can become a bottleneck if panels must be stacked or packed quickly. A fast-drying finish can save time but may need more sanding between coats.
The chart below is a practical comparison, not a laboratory rating. It reflects how each finish type typically performs in interior furniture and panel applications when applied correctly.
Use this comparison as a starting point, then test the chosen system on an offcut. A finish that performs well in one workshop may behave differently in another because temperature, humidity, and application method all change the result.
Yes. Polyurethane is one of the most durable workshop-applied finishes for birch plywood, especially for furniture, shelving, and high-touch surfaces. Sand to 180 or 220 grit, seal the edges, and apply two or three thin coats. Solvent-based polyurethane gives a warm tone and good moisture resistance, while water-based polyurethane has lower odor and less yellowing.
Yes, if the edges will be exposed or the panel will see moisture. Edges absorb coating faster than the face and expose the core. Two thin coats of a compatible sealer, with a light sanding between them, will reduce swelling and improve the appearance of the edge.
Most raw birch faces are ready after sanding with 180 to 220 grit. Do not over-sand with very fine grit, because a burnished surface can reduce adhesion. If the panel has mill marks or contamination, start with 120 grit and work up. Always sand with the grain on the face.
Yes. Water-based finishes are popular in interior work because they have low odor and dry quickly. They can raise the grain slightly, so a light sanding after the first coat is usually necessary. Sealing the edges is still important, and the panel should be allowed to dry fully between coats.
A cloudy or white haze is often caused by moisture trapped in the coating, especially with solvent-based products in humid conditions. Improve air movement, reduce humidity, and make sure the panel is dry before coating. If the haze is already in the film, sand back and recoat in better conditions.
Film-faced surfaces are already finished, so recoating is usually unnecessary. If a different appearance is required, use a compatible primer or adhesion promoter rather than sanding through the film. Sanding the film can expose the veneer and create an uneven surface that is difficult to repair.
Cure time depends on the coating, film thickness, temperature, and humidity. Water-based coatings may be dry to the touch within an hour but need longer before stacking or heavy use. Solvent-based coatings can take days to reach full hardness. Follow the product data sheet and allow extra time in cool or humid conditions.
For large production runs, wet areas, or industrial surfaces, a factory-finished panel often gives a more consistent result. For custom furniture, small batches, or a specific sheen and color, workshop finishing gives more control. The right choice depends on volume, available drying space, and the performance requirements of the end use.
Some finishing problems are better solved before the panel reaches the workshop. If the project needs a uniform film, a specific gloss level, or a surface that will resist moisture and abrasion from day one, a factory-applied finish may be the more reliable route. Film-faced, melamine-faced, and UV-coated panels are produced under controlled conditions that are difficult to reproduce in a small workshop.
That said, pre-finished panels still need edge treatment after cutting. Every cut exposes new core, and every exposed edge is a path for moisture. Whether the panel arrives raw or pre-finished, the finishing plan must include the edges, the cutouts, and the back face if it will be exposed.
For projects where the panel is part of a visible design, order a sample or an offcut with the intended finish. Test the coating on the actual face veneer, not on a different species or grade. Birch veneer varies in density and absorption, and a finish that looks perfect on one sheet can look patchy on another. A small test panel is the cheapest quality control step in the entire finishing process.
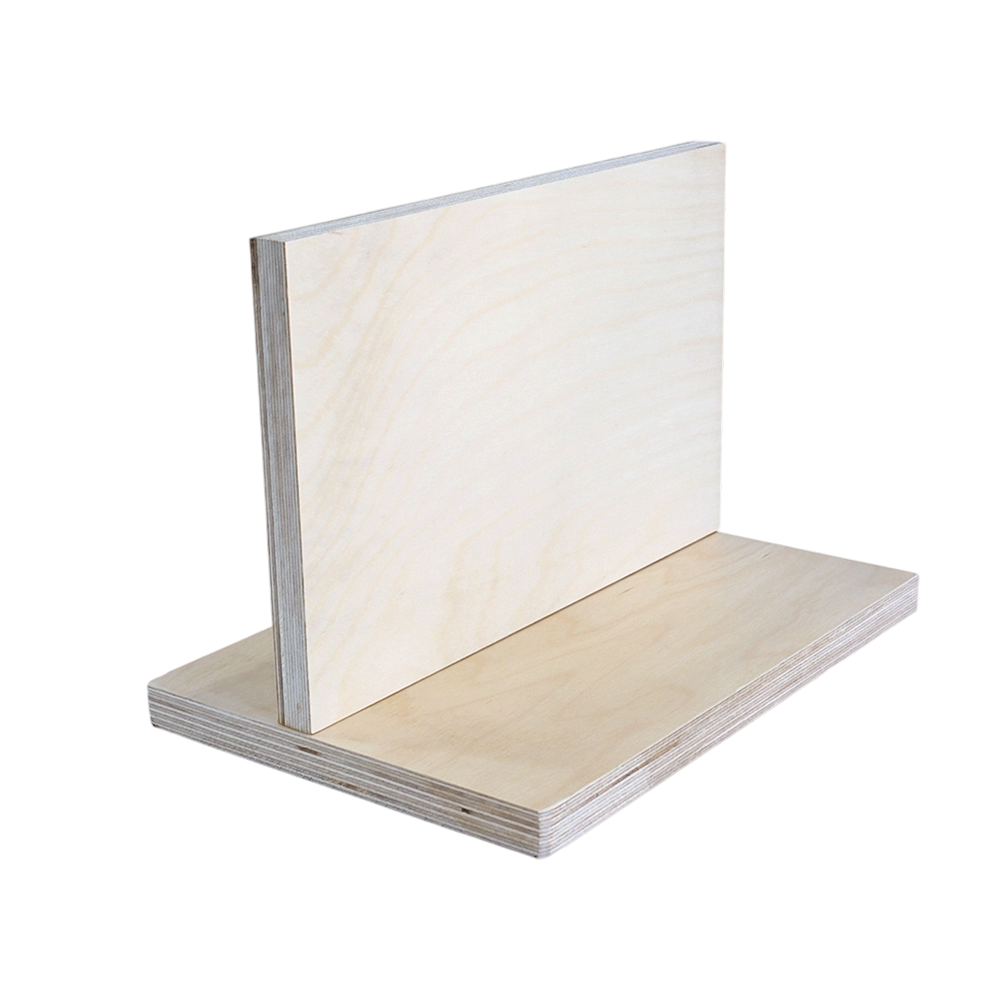
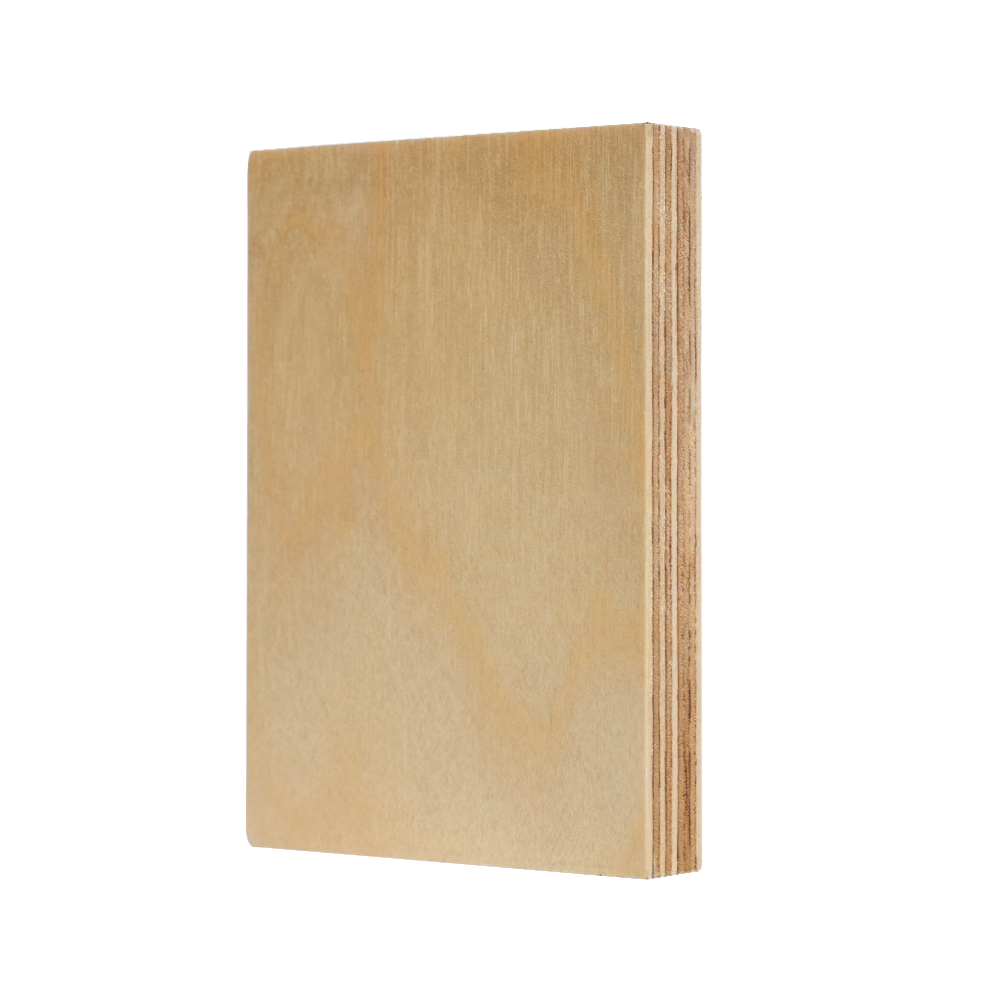 Top Grades Birch Plywood(B/BB & S/BB)In addition to the impressive strength and stability of Top Grades Birch Plywood (B/BB, S/BB), the natural beauty of the birch and attractive grain pattern make it a s...View Product →
If you are unsure which grade or surface treatment suits the final application, share the exposure conditions, the expected cleaning routine, and the appearance target with the supplier. Those three details usually determine whether a raw panel, a film-faced panel, or a pre-finished decorative panel is the most practical starting point.
related products


Copyright © Tianma Lvjian Group Co., Ltd. Rights Reserved.
Wholesale Construction Plywood Manufacturers Privacy
 English
 中文简体
中文简体